3.1 New supplier
You can add a new supplier by clicking the  button in the command bar. This will redirect you to the registration page for suppliers.
If you need to add several new suppliers, it’s better to use the Import from Excel function described in a separate chapter.
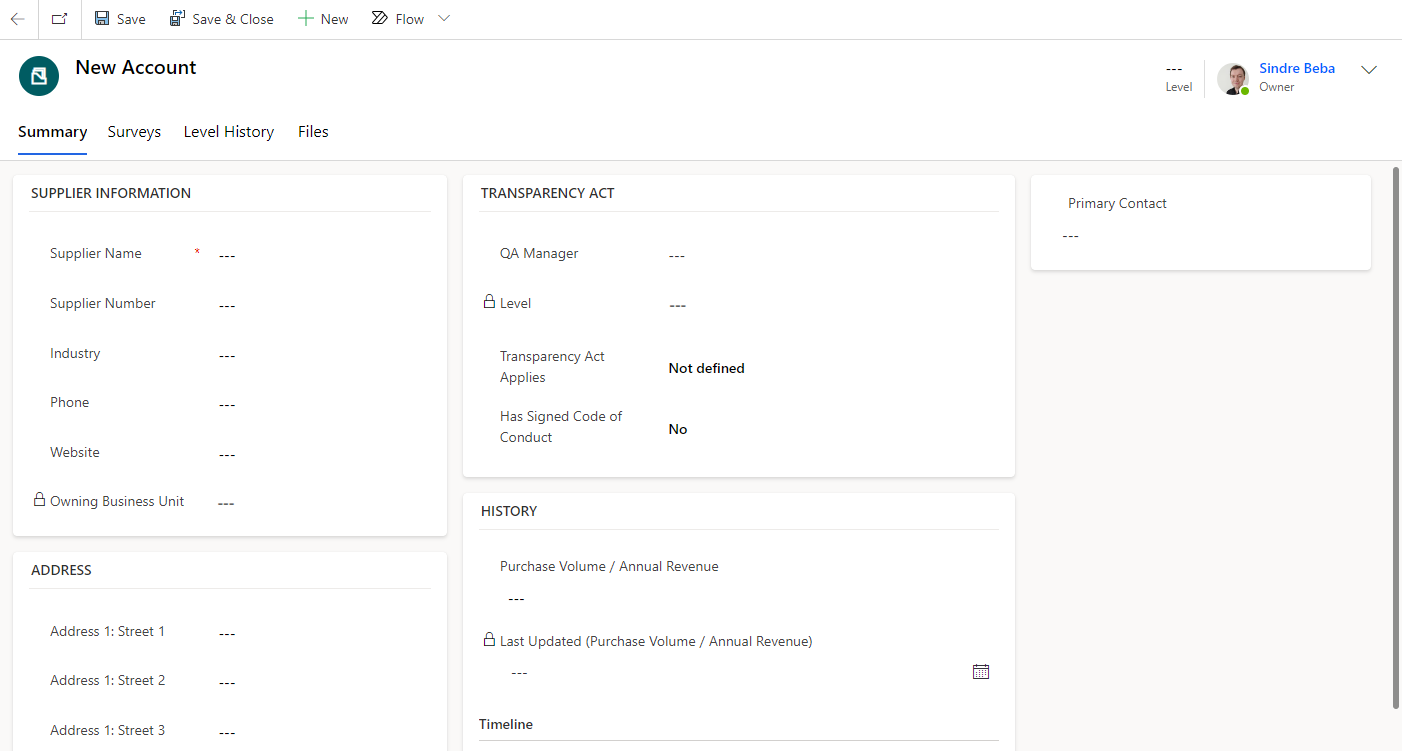
The Summary tab is where you find all the metadata for the supplier. Fill out the fields you want to and click Save & Close in the command bar to save the supplier. The most important fields to fill out is Supplier Name (required) and Primary Contact (recipient of surveys). To add a primary contact, you must first save the supplier, then add a new contact for the supplier, and finally add it as the primary contact.
The other tabs contain related information about the supplier:
Surveys - Here you find a table with every survey sent to the supplier.
Level History - Complete history of what level the supplier has been assessed to before with information about when and who did the assessment as well as a comment about their reasoning.
Files - If enabled, files related to the supplier is accessible here. The files will be saved in SharePoint.